New Astro Starlight integration

How to collect user feedbacks in your Astro Starlight documentation and make it better with Feelback
Introduction
What is Starlight?
Starlight is documentation template for Astro. It provides a quick way to build a documentation website with many features builtin. Based on Mark* documents, it offers powerful content management and, of course, it inherits all the benefits Astro brings such as fast performances and flexibility.
Tracking documentation quality
A documentation is a content-heavy website. You invest lot of time writing articles and tutorial. It’s useful to understand what your users think about your documentation:
- is it useful?
- is it clear?
- is it up to date with latest developments?
- examples work fine?
Those are examples of many question worth asking to your user.
We need to collect feedback in a proper and efficient way, while keeping all feedbacks organized and easily managed.
A feedback system for Starlight
We’re going to use Feelback to collect user feedback about your documentation pages.
Pick the system of choice
There’s many feedback system you can adopt for your documentation.
You can see how big documentations get it done and take some inspiration. Here, there’re prominent ones analyzed and ready for you.
Stripe-like
A leading question, with different choices revealed when Yes/No are pressed.
You can read the full analysis: Case study: Stripe docs feedback system.
Vercel-like
A sentiment reaction, with an optional message.
You can read the full analysis: Case study: Vercel docs feedback system.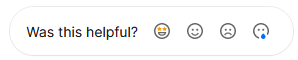
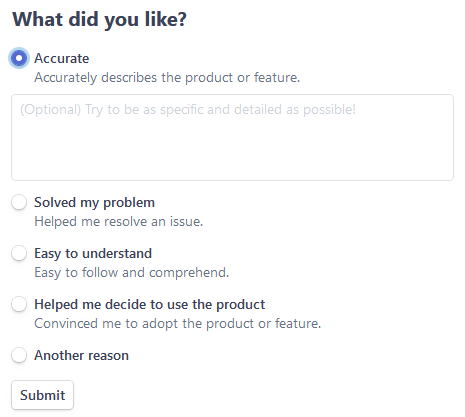
GitHub-like
A Yes/No evaluation, with an optional message and email.
You can read the full analysis: Case study: GitHub docs feedback system.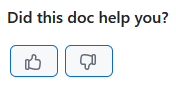

Starlight integration
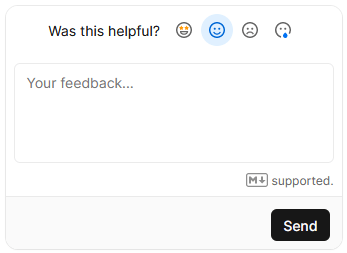
In this guide we’re going to integrate a Vercel-like feedback system. The complete code integration is available at the repository samples/astro-starlight.
We’re going to integrate a Feelback component in the page layout, in the article footer. Thus, it will be available on each page with no further action needed.
The result will be something like:


and when opened…
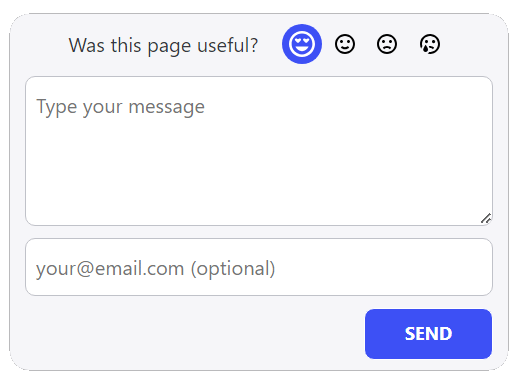
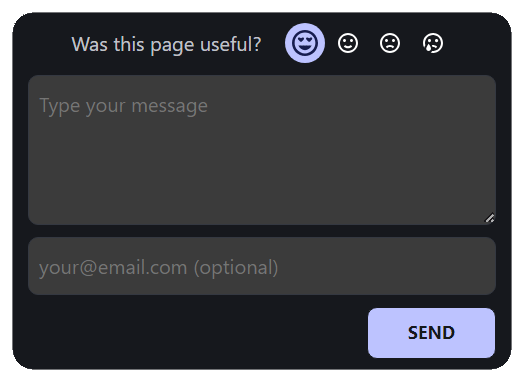
The component supports both light and dark theme, with the starlight color palette.
Step 1: Feelback project setup
If you don't have already a Feelback account, please signup and create one. It's free and doesn't require a credit card to use.
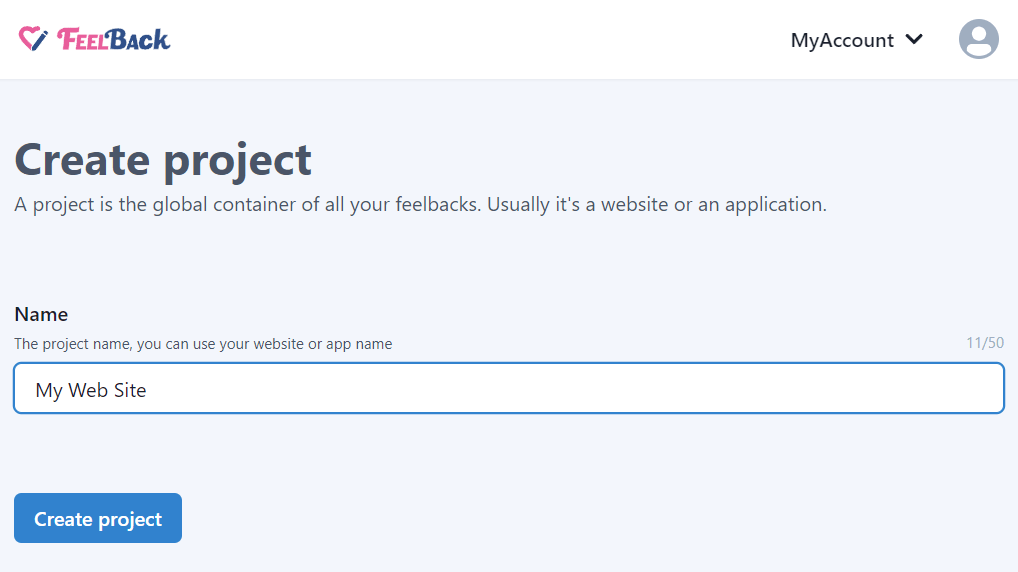
Access the Feelback panel, and create a project if you don't have any.
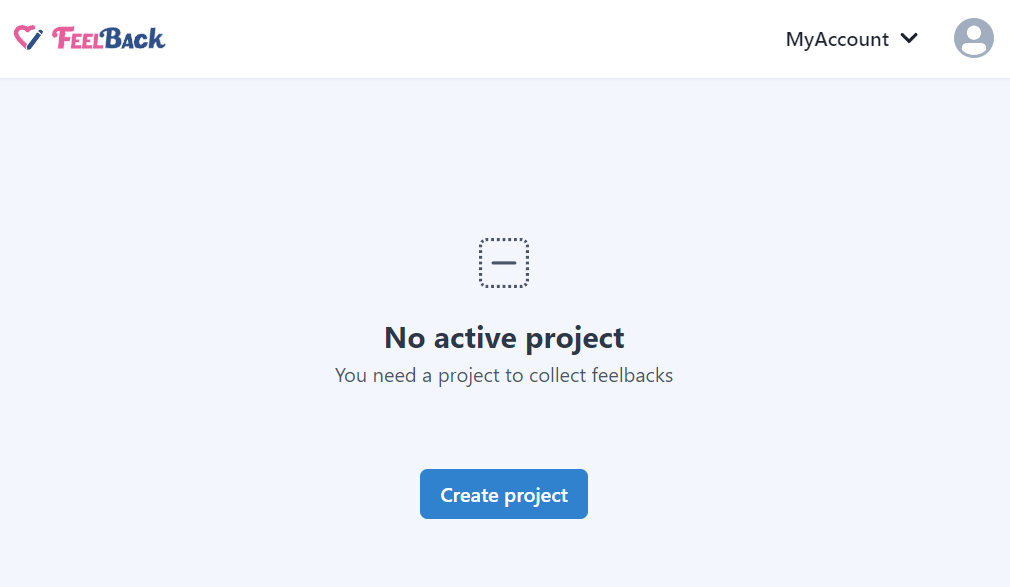
You can use your website name.
After that, create a ContentSet which will contain your content and feedbacks you will receive.
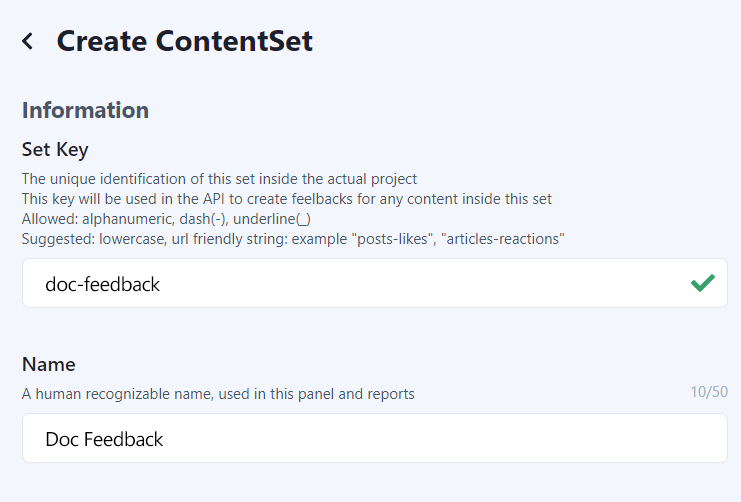
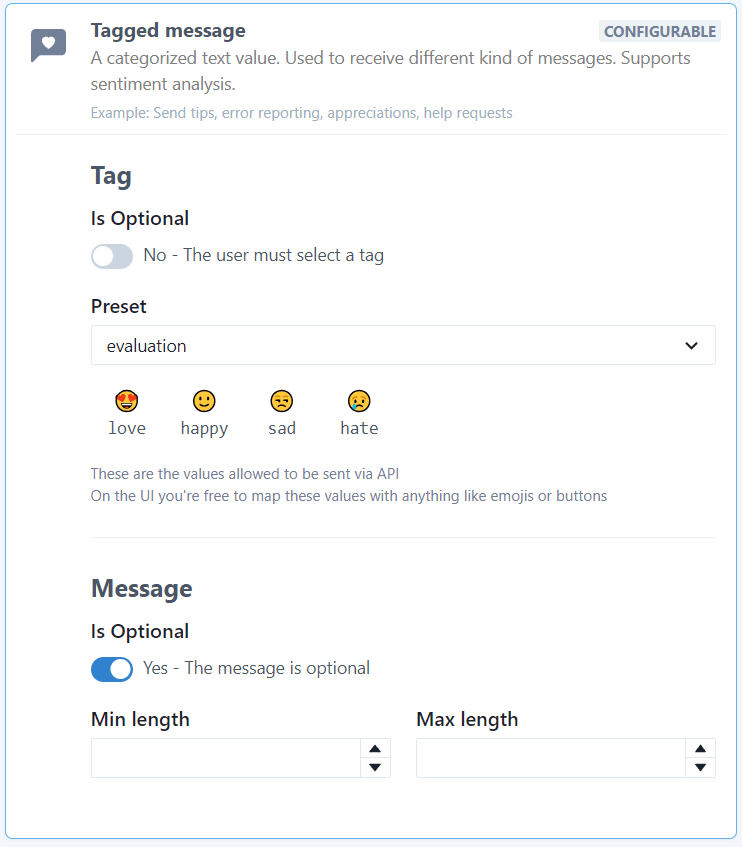
Pick the Tagged Message type to enable this content-set to receive categorized feedback message signals.
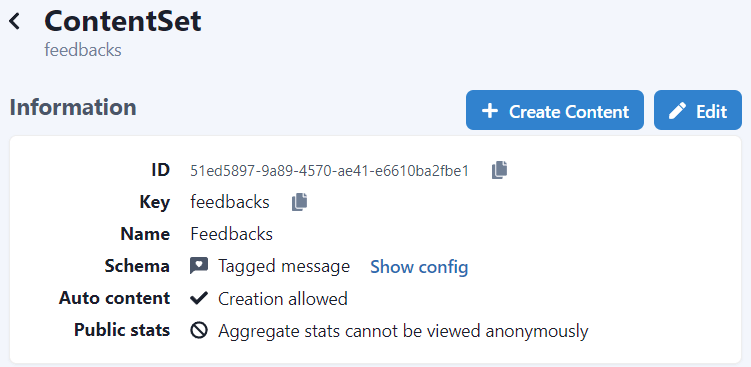
You will end up with a ContentSet like the following one:
Step 2: Install Feelback package
In your Astro project directory, just install the astro-feelback package:
npm install astro-feelbackpnpm add astro-feelbackyarn add astro-feelbackStep 3: Feedback Component
Let’s create a dedicated feedback component. Later we will import it into the layout page.
Because, the astro-feelback provides many prebuilt component and presets, the component is very easy to implement.
src/FeedbackComponent.astro
---
import FeelbackTaggedMessage from "astro-feelback/components/FeelbackTaggedMessage.astro";
import "astro-feelback/styles/feelback.css";

const CONTENT_SET_ID = "$content-set-id-from-panel";
---

<FeelbackTaggedMessage
    contentSetId={CONTENT_SET_ID}
    preset="evaluation"
    title="Was this page useful?"
    layout="reveal-message"
    style={["bordered", "align-center"]}
    withEmail
/>
Now we need some little css tweaks to adapt to starlight styling. To not bloat this guide, just copy the css from the sample integration component.
Step 4: Component override
At the moment of writing, Astro Starlight is in prerelease stage and doesn’t support layout extension capabilities. So we’ll workaround that with a little hack.
We’ll replace one starlight builtin component with our version. And, since we will place the feedback component on the article footer, right above the page navigation links (prev article, next article), we will override that component. The PrevNextLinks.astro component.
Let’s create our version of the PrevNextLinks.astro. All we need is just to wrap the original PrevNextLinks.astro and put our feedback component before it. Easy task, just a couple lines of code.
src/components/PrevNextLinks.astro
---
import PrevNextLinks from "@astrojs/starlight/components/PrevNextLinks.astro";
import FeedbackComponent from "../FeedbackComponent.astro";
---
<>
    <FeedbackComponent />
    <PrevNextLinks {...Astro.props} />
</>
Now we need to activate this override mechanism. A simple astro integration will do the work. When, the system asks for the PrevNextLinks component we will provide our version of it.
src/overrideIntegration.mjs
import fs from "fs";
import path from "path";


const LOCAL_COMPONENT_DIR = "src/components";

export default function overrideIntegration() {
  return {
    name: "overrides",
    hooks: {
      "astro:config:setup"({ updateConfig, config }) {
        const components = fs.readdirSync("./" + LOCAL_COMPONENT_DIR).filter(x => x.endsWith(".astro"));

        updateConfig({
          vite: {
            plugins: [{
              enforce: "pre",
              name: "override",
              async resolveId(source, importer) {
                for (const component of components) {
                  if (source.endsWith(component) && !source.includes(LOCAL_COMPONENT_DIR) && !source.includes("node_modules")) {
                    if (importer.includes(LOCAL_COMPONENT_DIR)) {
                      return path.resolve("./node_modules/@astrojs/starlight/components/" + component);
                    } else {
                      return path.resolve("./" + LOCAL_COMPONENT_DIR + "/" + component);
                    }
                  }
                }
              }
            }]
          }
        })
      }
    }
  }
}
And finally we can activate the integration.
import { defineConfig } from "astro/config";
import starlight from "@astrojs/starlight";
import overrideIntegration from "./src/overrideIntegration.mjs";


export default defineConfig({
  integrations: [
    overrideIntegration(),
    starlight({
        // ...everything else
    })
  ]
})
Analyze aggregated feedback data
You can access the Feelback panel and checkout your content performance. A content item is the target object of the user feedback. In this scenario, a content item is the actual page the user is browsing.
In the dashboard, you can quickly see which page performs better.
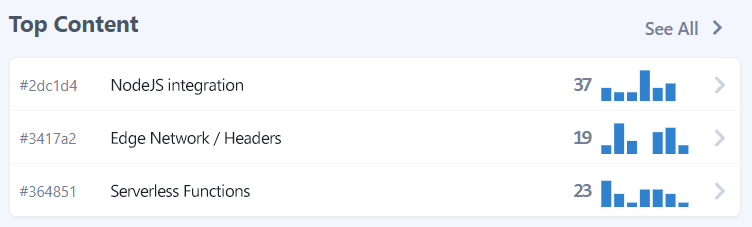
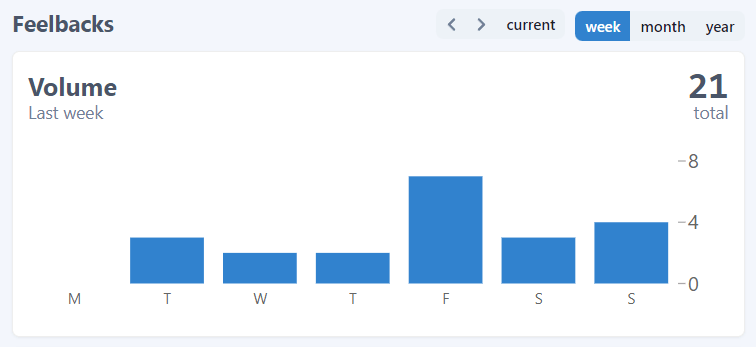
For each page you can analyze aggregated data, which include the feedback count received. You can go back and check historical data and change the aggregation period to week, month or year.
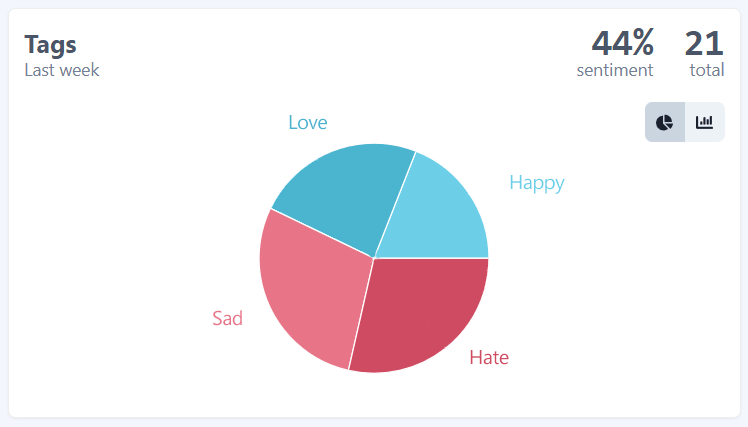
In this guide, we used the TaggedMessage to collect user feedbacks. And, because we configured sentiment values, Feelback creates sentiment aggregations too. For each page you can see the overall evaluation and the per Tag split.
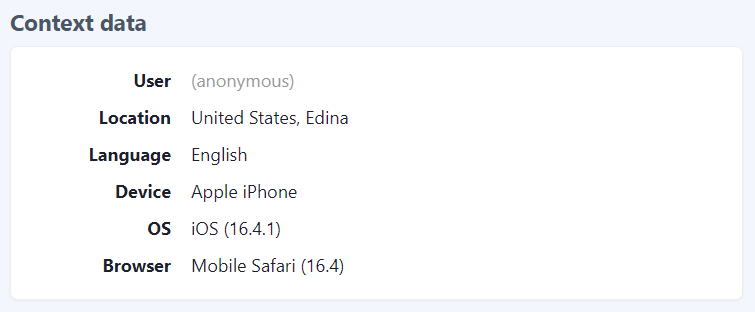
In addition to the aggregated view, you can go deep and analyze each single feedback. You can search, filter and check each feedback and see the details.

Each feedback comes with context data to further understand the relevance and specifics.
Contributing
The astro-feelback package is open source and available on github. Any contribution is much appreciated. Issues, bug reports and feature requests are welcome. Do not hesitate to reach us or ask for help.
Additional resources
Other guides for Astro
- How to add a Like button for your blog posts on your Astro website
- How to add a Stripe-like feedback system on your Astro website
Documentation
- Read the concept guide with an overview of the Feelback service and all the features available
- Checkout the Feelback types list with all signals you can receive from your user, from simple reactions or ratings to more complex error reporting or suggestion messages